Thursday, October 4, 2012

DIY Paper Carnation

Here's another variety of paper flower that you can use for weddings, birthdays, or however you like it!

Things you'll need:
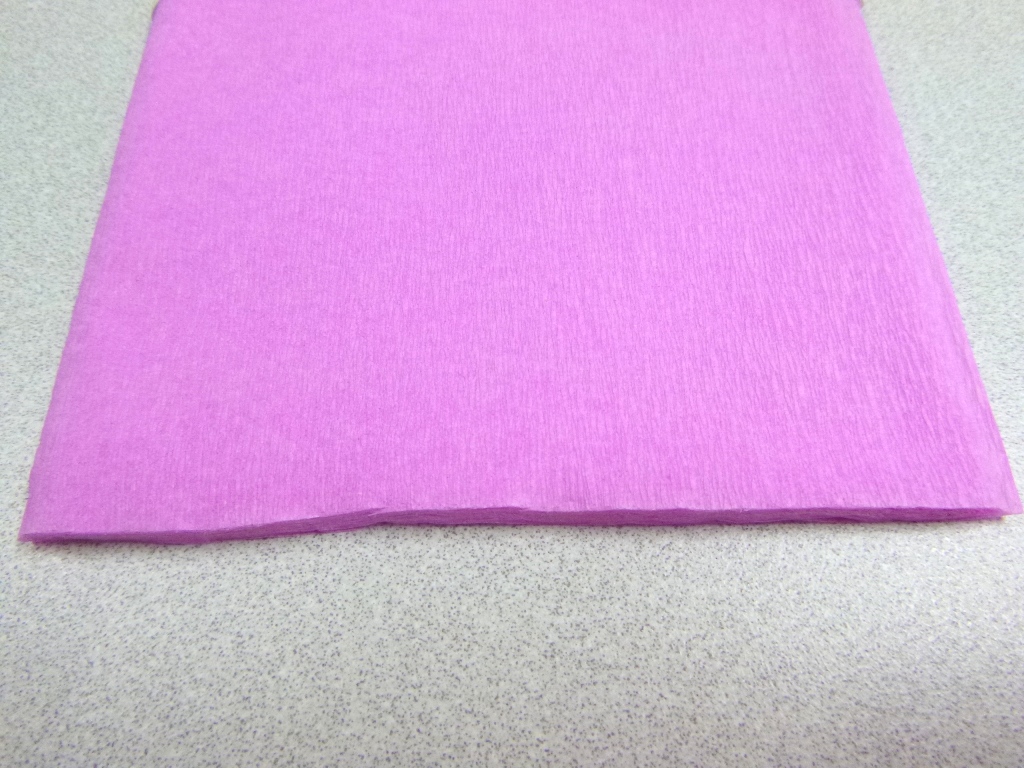
Crepe Paper
Pencil
Scissors
Tie wire

get your crepe paper and trace a circle.
cut it.

make a small hole and insert the tie wire. make sure to fold the tie wire so that it will hold the crepe paper.
crumple each sheet of the crepe paper. do it one by one.

continue doing it until you reach the last sheet.
here you go!!! ain't it easy?


I think this is really a very pretty centerpiece!! ^_^

DIY Paper Poppies

Here's another DIY paper tutorial that you can do even with your eyes closed! Kidding... you need to do this with your eyes open. ^_^ Here are the very cute and easy to make Paper Poppies...

Thanks Chiqui for the help!

Things you'll need:
colored copy paper (80 gsm)
scissors
glue
tie wire
colored pencils/pens

get your colored copy paper. i used baby pink.

cut the paper. i decided to have 2x3 cut-outs.

fold the paper 3 times until it is cone-like in shape.

cut the tip of the paper in half-oval shape (or however you like it).

unfold the paper and cut one part of it.

use three shades of colored pencil to create an effect at the center of the paper poppy.

put glue on the 7th petal

insert the tie wire at the center and overlap the 6th and 7th (with glue) petals. hold it for a few seconds.

hello there pretty paper poppy!!

hope you'll like them! ^_^

DIY Paper Flowers

Here are the step by step instructions on how to do one variety of the paper flowers I posted earlier. Thanks to Chiqui for the help..

Things you'll need:
crepe paper
scissors
tie wire

prepare your crepe paper (choose a color you like)

cut the petals for your crepe flower. don't worry about not having the perfect shape because it will add beauty to your paper flower.

arrange the petals however you like it. and yes you have to do it piece by piece, so have fun! :)

once you are done arranging the petals, carefully tie the bottom using the tie wire. if you have floral tape, you may also use it.

VOILA!! aren't they gorgeous? ^_^


Paper Flowers in a basket

I was crafting with my friend, Chiqui today... Aren't these crepe and colored paper flowers pretty? :) Will post the "how to" in a few.. enjoy! :)


Sunday, September 30, 2012

DIY Decoupaged Shoes

So, a pair of my favorite shoes is about to give up on me (because it's almost looking ugly and old). Then one Sunday night, I decided to tweak 'em a little bit to make 'em look lovable again.

I got me some floral fabric, mod podge and then I started working from start to finish! I love the results!! ^_^ plus, this made my Sunday less boring.

here's the almost giving up shoes.
the very helpful mod podge and floral fabric

..and after a couple of hours!
VOILA!!

Too pretty! I can't wait to wear them! ^_^


Saturday, September 29, 2012

DIY table number holder

    Here's another DIY for the victorian themed wedding that I am planning for C+A: Fold Back Clips turned into Table Number Holders. I initially planned to purchase photo frames as table holders but I thought it's a bit pricey so I had to look for another option. Here's the DIY for the table holders.. enjoy!

The final design of the table numbers is not yet posted because we still don't know how many tables we have.

(1) Get your fold back clips. I used 2 inches.
(2) Prepare your pattern papers. I used black and off-white stripes.
(3) Cut the pattern paper according to the size of your fold back clips. I used 2x3.
(4) Put double-sided tapes on both sides of the clip and at the bottom.
(5) Wrap the paper clip with the pattern paper. Make sure to press it with your thumb to flatten.
(6) Clip your paper (or table number design) with the fold back.
(7) Remove the metal part of the fold back clip. You can keep it in case you will need it after the wedding.  (by the way, that table number is not the final design ^_^)
VOILA!!! my very own table number holders.
You can also use it as photo holder! :)

DIY Paper Fortune Cookies

I have been planning for C+A's wedding for a few months now and I have decided to make use of my boring weekends doing crafts that we can use for the wedding. Here's my DIY Paper Fortune Cookies.


(1) Get some pattern papers and cut it in circles. I used victorian patterns.
(2) Print some messages. I got these online.

(3) Start making your paper fortune cookies. Here's the tutorial: http://www.ehow.com/video_4790371_make-paper-fortune-cookies.html

(4) Voila! My very own paper fortune cookies. All good to go! :)

Saturday, August 4, 2012

Flying Poppies

I made this one for mom, she liked it so much she demanded for another one! lol

Flying Poppies
Size: 16x20


Picket Fence and Tulips

I made this for my sister when I was still recuperating from the surgery. My Thank You gift to her for taking care of me and putting up with my grumpiness. ^_^

Size: 16x20


Monday, July 30, 2012

Kendii's Tulips

My <quote>very demanding<quote> crazy friend Kendii had a crazy idea: an art trade (because I was asking her to sketch my beautiful face). ha ha!! I made this painting for her in exchange of the sketches (I loved her artwork!)

Thank you Grace! 'Til our next art trade ^_^

Kendii's Tulips
Size: 12x16


Sunday, July 15, 2012

Blue-walled Room

One Sunday afternoon, I got tired of watching tv.. Then I decided to paint my bedroom wall!  Staying in and watching tv on weekends will never be that boring again. Yay!!


Friday, June 29, 2012

DIY Paper Flowers

Here are some paper flowers that could probably be used as centerpieces for C+A's wedding. I got the vase from a thrift store for only Php25 (around $0.50 USD) and just reused the twigs that our team used for decors last Christmas. Click here for the tutorial.


Tuesday, May 15, 2012

Mr and Mrs Silud

My best buddy, Mariann is getting married and I am sooooo happy and excited for her. She told me about the wedding when I was still in Lexington and asked me if I could attend. Of course, I would! As a present, I made this painting for her and don (because I also promised her that I'll make one for them when we were still working for the same company.) Hope the couple will like this! :)


Size: 18x22


Wednesday, April 4, 2012

DIY Paper Cut-outs on Canvas: Tulips

I will leave Lexington this Friday and I decided to make a present for my mentor, Suzanne as a thank you gift. Here's another version of diy paper cut-outs on canvas: tulips.

Things you'll need:
canvas (I used 14x16)
scissors
mod podge
foam brush
designer papers
pencil

gather your materials

make tulip cut-outs out of your designer papers.

hope Suzanne will like this! :)

Tuesday, April 3, 2012

DIY Paper Cut-outs on Canvas (1)

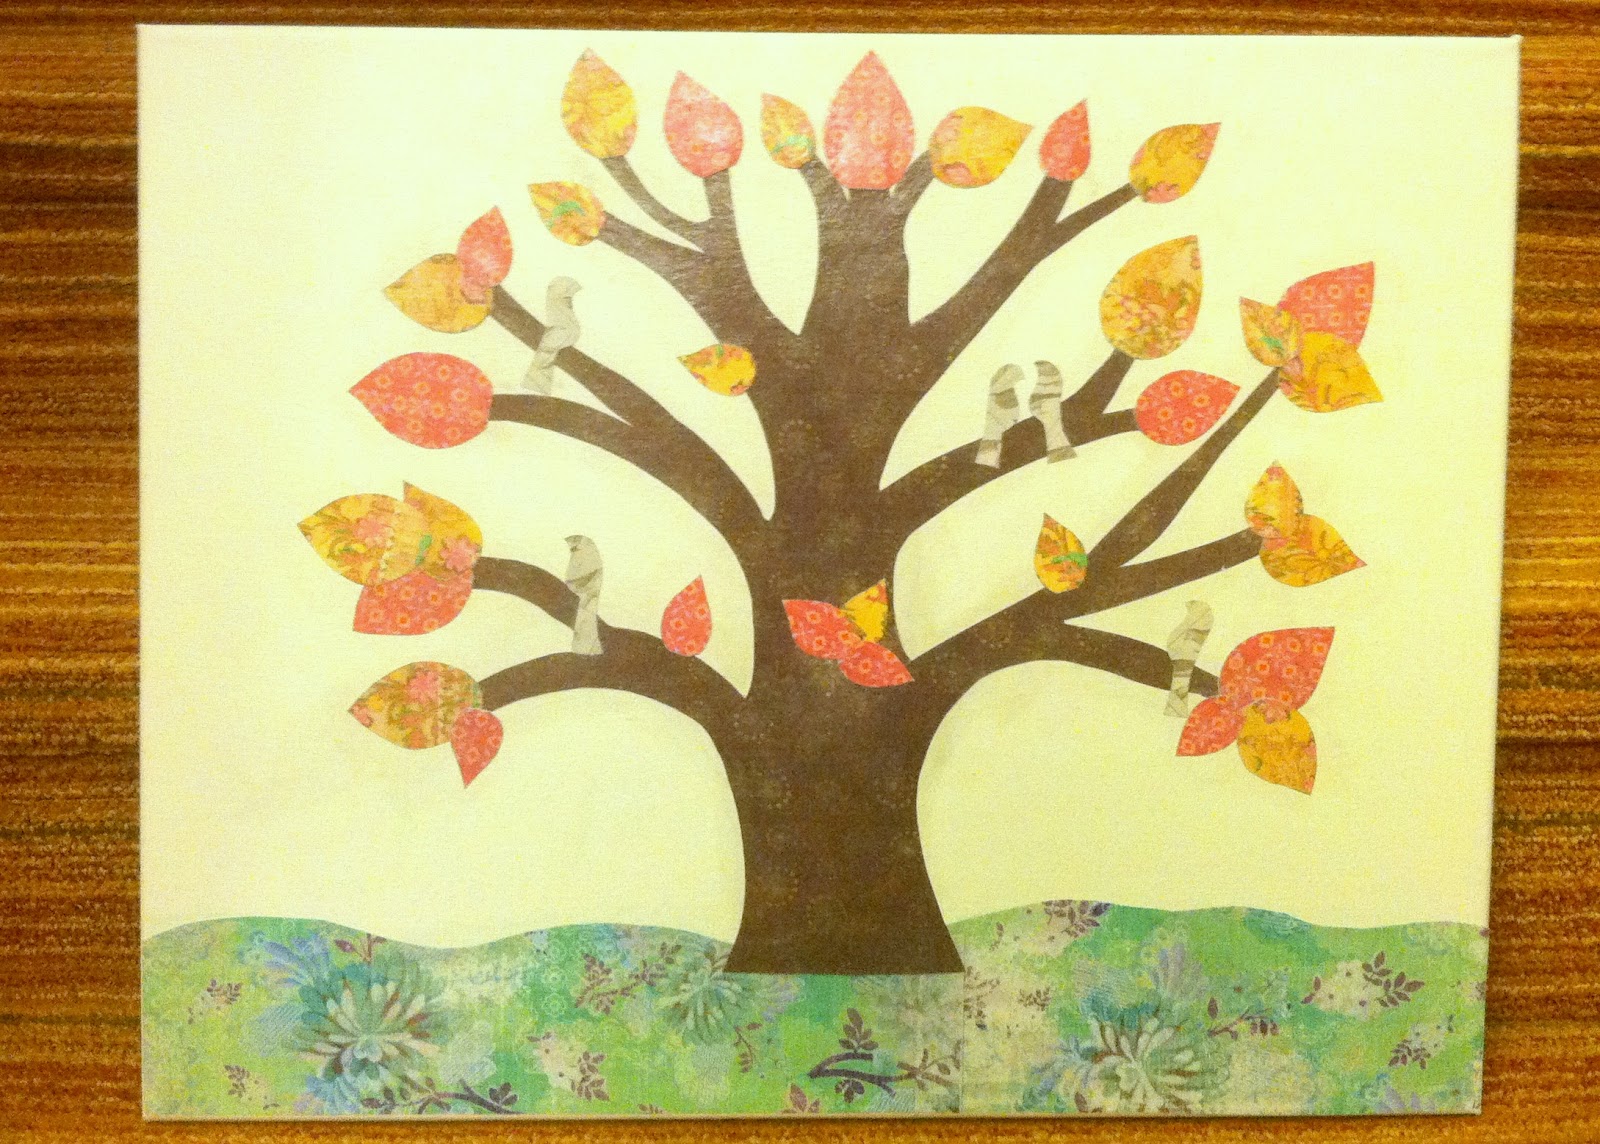
I am about to leave Lexington and I wanted to give a thank you gift for my colleague, Gail. Thank heavens for Michael's store. Oh I love that store... Here's a diy of paper cut-outs on canvas. The design is a tree with leaves and birds. This will remind her that I was there during winter to spring.

Things you'll need:
canvas (I used 14x16)
scissors
mod podge
foam brush
designer papers
pencil

here are the materials I used

start cutting out your designer papers. make whatever you like.

Here's the finished product! :)